How this article was made: Research-based comparison. It draws on published information from makers, retailers, and reference sources, not on hands-on testing.
Sashiko Is Decoration and Practical Repair at the Same Time
Sashiko is not only a decorative stitch. It is a practical technique for reinforcing worn fabric and repairing tears, holes, and thinning spots in everyday clothing. The same running stitch that makes sashiko patterns beautiful also holds a patch in place and spreads strain across a wider area of cloth. That dual role is a big reason it is so often used on denim, work jackets, and other garments that see hard wear.
This guide covers the idea behind visible mending, which fabrics take sashiko repairs well, a step-by-step method, and the mistakes that most often spoil a repair. If you are new to the craft itself, start with What Is Sashiko? A Beginner’s Guide to Japanese Visible Mending.
The Idea Behind Visible Mending
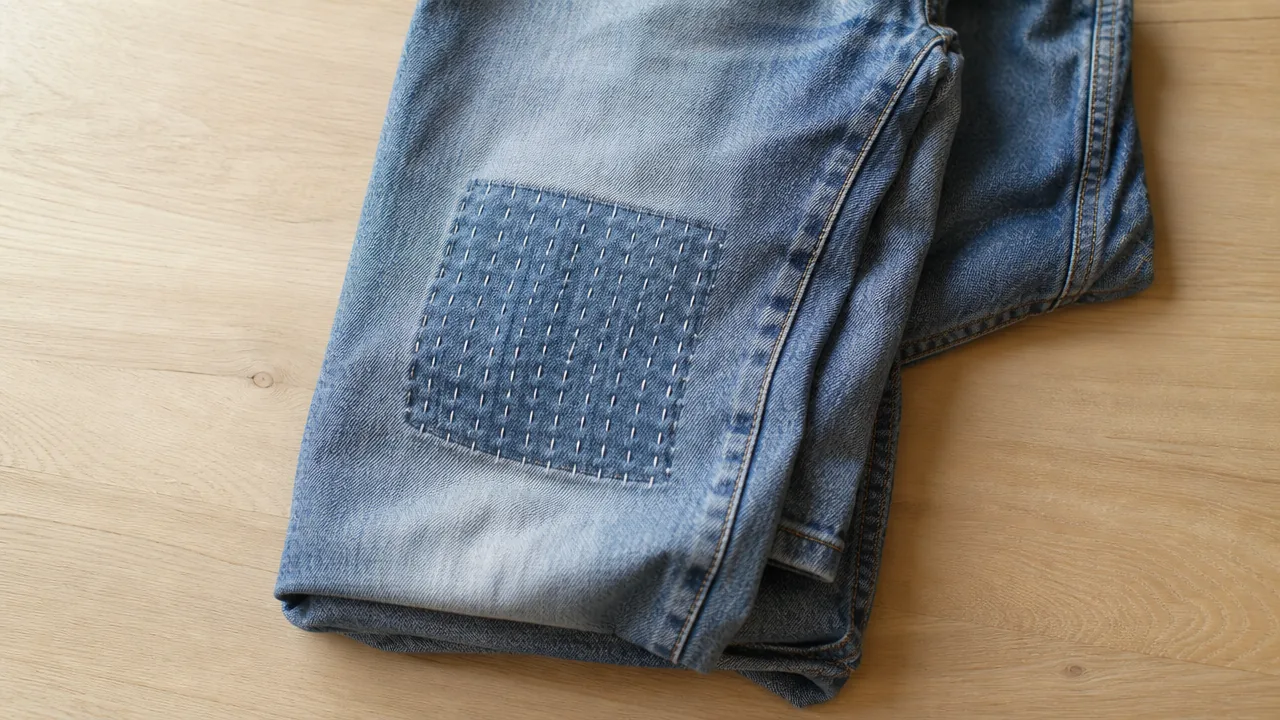
Most mending tries to disappear. Visible mending does the opposite: the repair is stitched openly, usually in a thread that contrasts with the cloth, so the patch becomes part of the garment’s look. Sashiko suits this approach well, because its evenly spaced rows of running stitch already read as a deliberate pattern rather than as a fix.
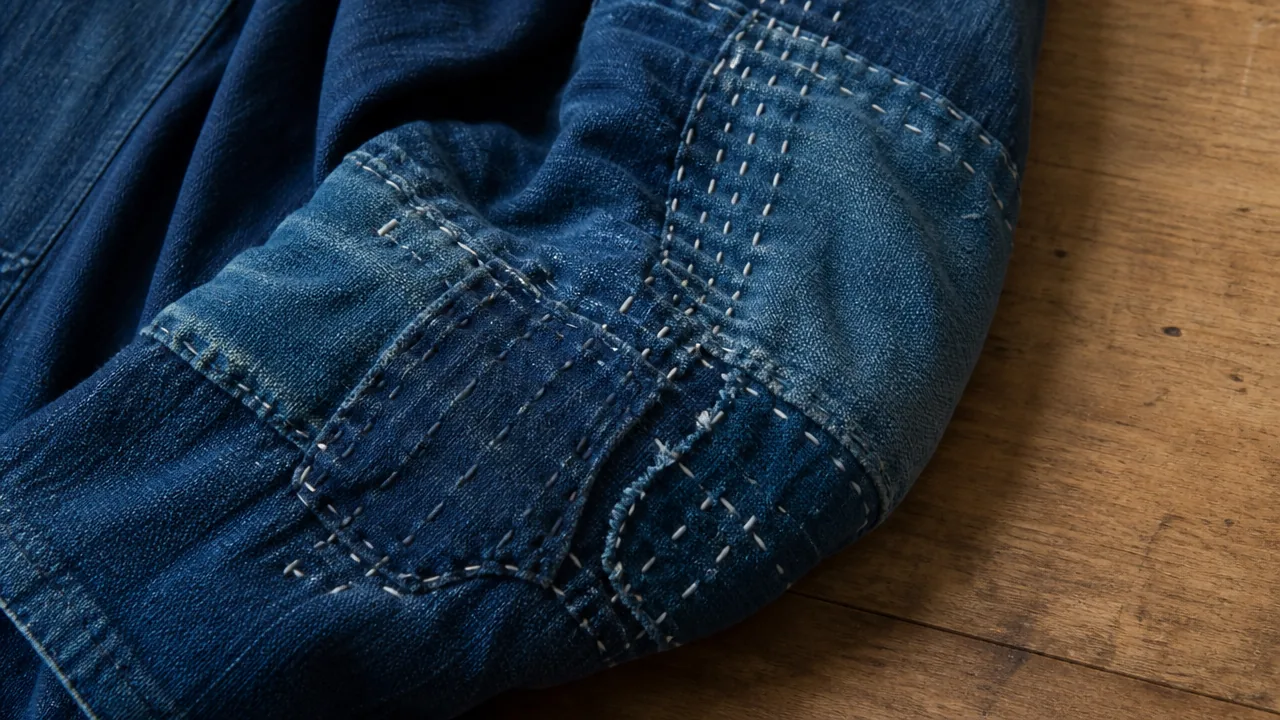
The practice has deep roots. According to textile historians, in the farming communities of northern Japan, worn cloth was often layered and stitched together with running stitches to make garments warmer and longer-lasting, and the accumulated results are what we now call boro. Boro refers to the patched, re-patched textiles themselves, while sashiko is one of the stitching methods often used to hold them together. Our article on What Is Boro? The Poverty-Born Aesthetic Behind Sashiko covers that history in more depth.
Modern visible mending borrows the technique more than the tradition. It is closer to a contemporary repair philosophy than to historical Japanese practice, but the tools and stitches transfer directly. In practical terms, there are two ways to use it on clothing: as reinforcement, stitching over fabric that is thinning but has not yet torn, or as repair, stitching a backing patch over a hole or tear that already exists.
Which Fabrics Take Sashiko Repairs Well
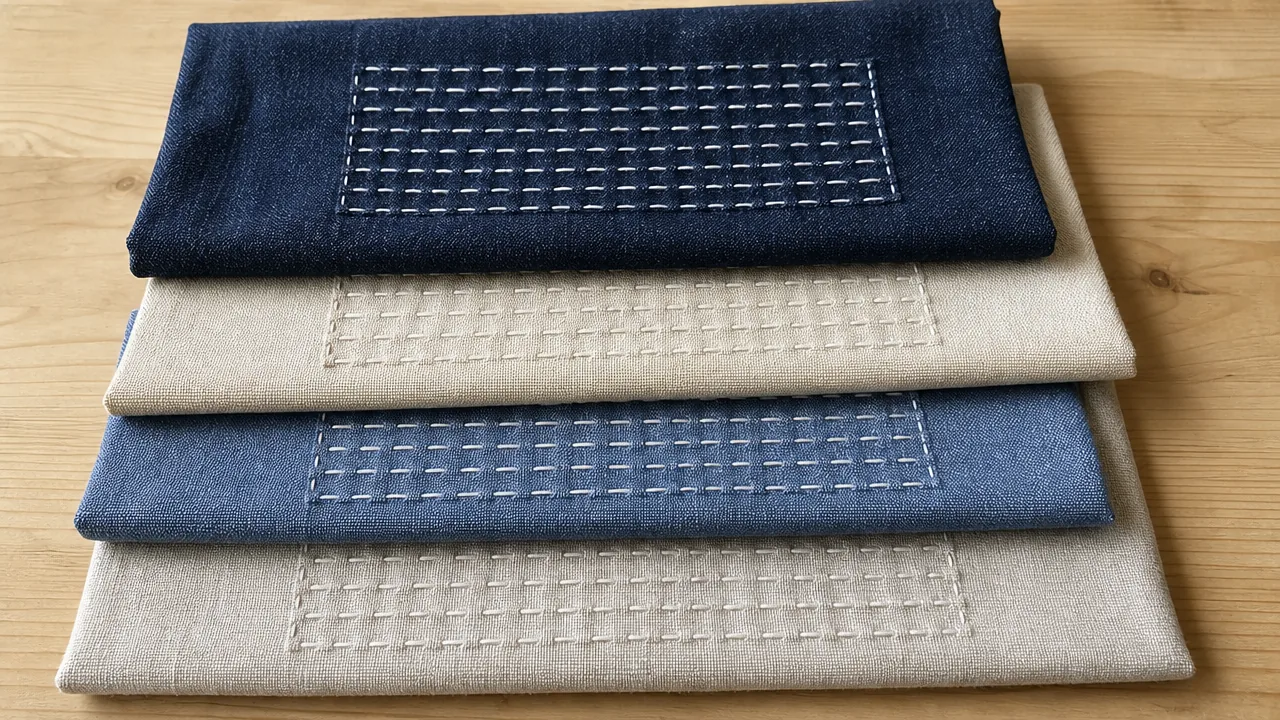
Sashiko works best on woven fabrics that hold their shape under a needle and thread. These are generally good candidates:
- Denim and other sturdy cotton twills, the most common choice for sashiko repair.
- Canvas and other medium- to heavy-weight woven cotton, such as work jackets and aprons.
- Cotton-linen blends and chambray, which take stitching easily and show a running stitch clearly.
- Flannel and medium-weight cotton shirting, as long as the cloth is not too thin.
Some fabrics are poor candidates or need extra care:
- Stretch knits such as T-shirts and jersey. A running stitch does not stretch, so the stitching can distort the fabric, and the thread may snap when the garment is pulled.
- Stretch denim can work, but the stitched area will stretch less than the cloth around it.
- Very lightweight or sheer fabrics such as silk or chiffon, which tend to tunnel and pucker under dense stitching.
- Slippery synthetics and coated or waterproof fabrics, where each needle hole may show or may damage the coating.
Match the patch to the garment: similar fiber, similar weight, and pre-washed. Cotton can shrink the first time it gets wet, so washing the patch fabric before stitching helps keep the repair from distorting later.
Step-by-Step: Repairing a Worn Spot With Sashiko
These steps suit a typical repair, such as worn denim at the knee or a small tear in a work jacket. The stitching motion is the same one covered in How to Sashiko Stitch: A Beginner’s Step-by-Step Guide, so if the running stitch is new to you, practice it there first.
- Prepare the garment. Trim loose threads around the damage and flatten the edges of the tear or hole so they lie without overlapping.
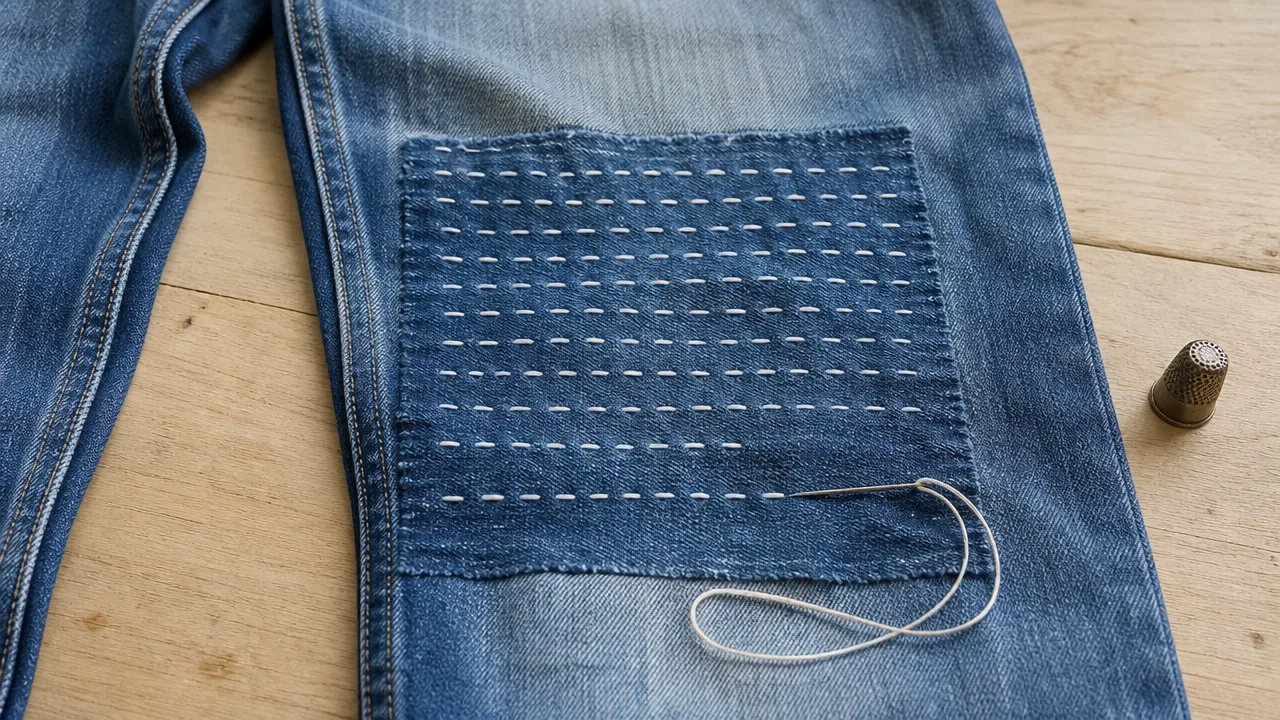
- Cut a patch. Choose a sturdy woven cotton similar in weight to the garment and cut it so it extends a little past the damage on every side, commonly about an inch (2 to 3 cm). Round the corners so they do not catch and peel.
- Position and secure the patch. Place the patch over the damage, on the inside of the garment for a subtler result or on the outside for a bolder, more visible repair, then pin or baste it flat. When working on a sleeve or trouser leg, slide a folded cloth or thin piece of cardboard inside so you do not stitch the garment shut.
- Mark your stitch lines. Use a chaco pen or tailor’s chalk to draw straight parallel rows across the damaged area and out into the sound fabric beyond it. Save more complex patterns for later.
- Choose thread and needle. Use a sashiko needle and cotton sashiko thread in a color that contrasts with the fabric, run whole rather than split. Thick thread shows more boldly and is generally more forgiving for beginners, as our Best Sashiko Thread for Beginners guide explains.
- Stitch across the damage. Load several stitches onto the needle before pulling through, keep stitches and gaps around a quarter inch (about 5mm), and pull only until the thread lies flat. Start and end each row in sound fabric, past the edge of the damage.
- Fill in the area. Space the rows closely enough that the patch is held firmly across its whole surface, commonly around a quarter inch apart. Where the stitching crosses a hole or tear, the thread bridges the gap and holds the patch firmly in place.
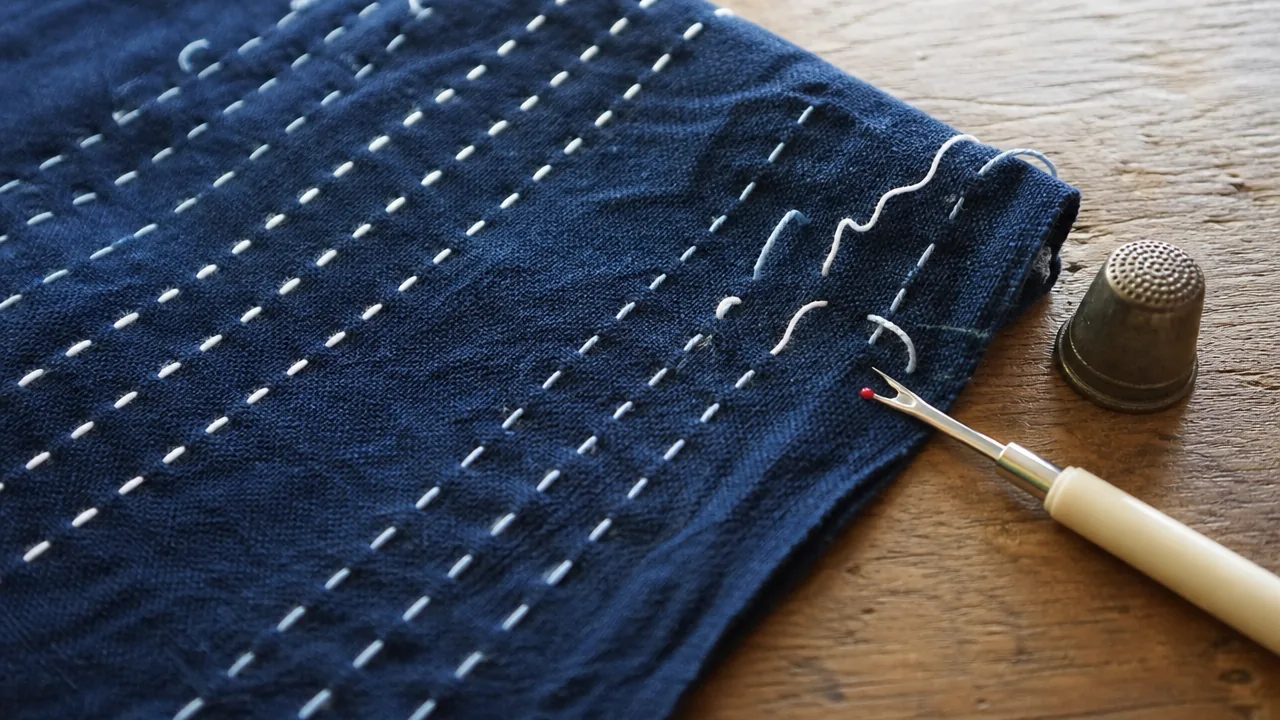
- Finish the ends. Take a small backstitch on the reverse instead of tying a bulky knot, trim the tails, then remove the pins and any chalk marks following your pen’s instructions.
Common Mistakes and What to Watch For
Most failed repairs come from a small handful of avoidable habits:
- Stitching only inside the damaged spot. A repair that stays entirely inside the weak area puts all the strain on fabric that has already failed, so the rows should always run out into sound cloth on every side.
- Cutting the patch too small. Patch edges that sit right at the edge of the damage tend to fray or peel away.
- Pulling the thread too tight. This puckers the fabric along the stitch line; stop pulling as soon as the thread lies flat.
- Using a patch much heavier than the garment. A stiff patch can create a hard spot that tugs at the surrounding fabric.
- Skipping the pre-wash. A cotton patch that shrinks in the first wash can pull the repair out of shape.
- Leaving bulky knots on the front or in high-friction areas such as knees and cuffs. Keep knots small and on the reverse.
- Using a standard needle. A proper sashiko needle, longer and slightly blunter, moves through densely woven cotton far more predictably, as the stitching guide notes.
- Ignoring colorfastness. Dark thread or fabric can bleed in the first wash, so test a strand on a scrap first if the garment will be washed with light items.
Frequently Asked Questions
Can sashiko repair denim?
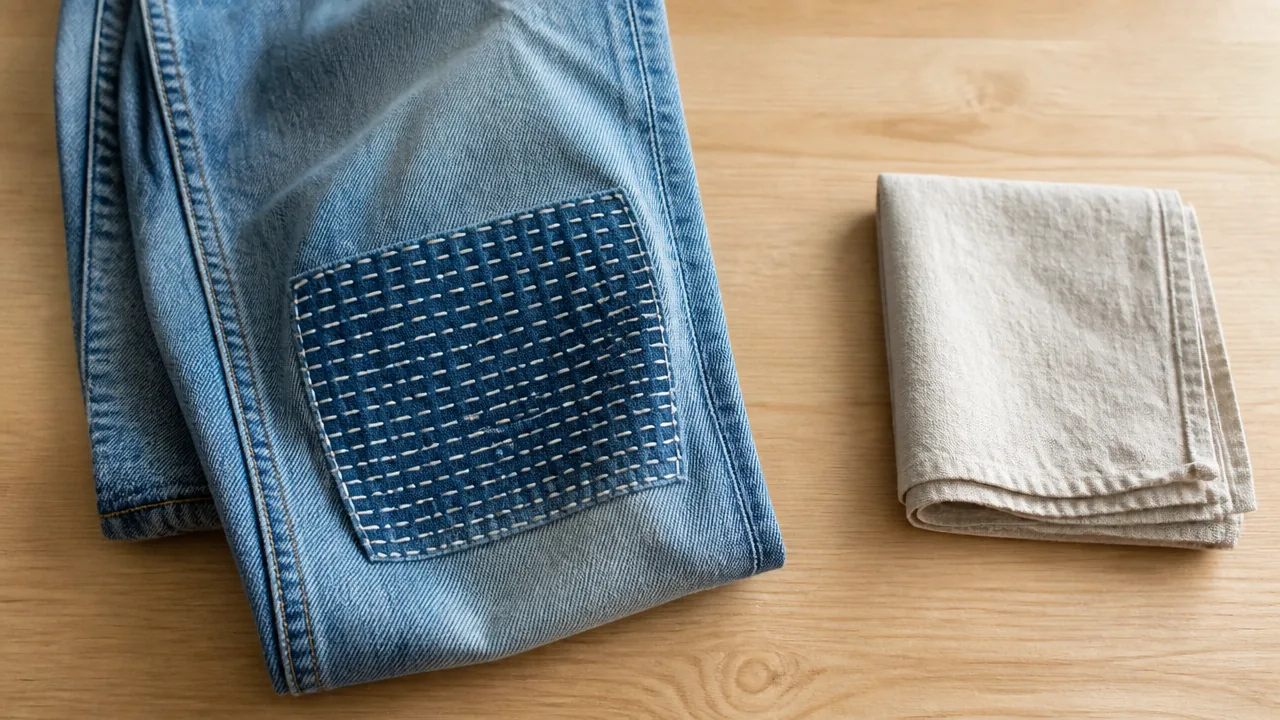
Yes. Denim repair is one of the most common modern uses of sashiko. Place a denim or sturdy cotton patch behind the worn or torn area and stitch rows through both layers, extending into sound fabric. Thicker thread shows up well against the heavy weave. Stretch denim can be mended this way too, but the stitched area will stretch less than the cloth around it.
Do I need special thread for mending?
Not strictly, but sashiko thread is designed for this kind of work. It is a single, loosely twisted strand with a soft matte finish, meant to be run through the needle whole. Embroidery floss can be used, but it is made of separable strands with a noticeable sheen, so the result will look and feel different. Our Best Sashiko Thread for Beginners guide explains the differences in more detail.
Can I use sashiko to reinforce fabric before it tears?
Yes. Stitching rows across thinning areas, such as the knees, elbows, or seat, before a hole forms is a common way to extend a garment’s life. That structural role is also what sashiko is often described as having done historically, when layers of worn cloth were stitched together to make them last longer.
Will a sashiko repair survive the washing machine?
Generally yes, when the patch was pre-washed and the stitches lie flat. Washing the garment inside out on a gentle cycle reduces abrasion on the stitching. Thread and cloth may still shrink or fade slightly over time, so it helps to test a scrap first if the garment needs to be washed hot.
Related Reading
For the background and vocabulary behind the technique, start with What Is Sashiko? A Beginner’s Guide to Japanese Visible Mending. The history of layered, patched cloth is covered in What Is Boro? The Poverty-Born Aesthetic Behind Sashiko. To practice the stitch itself before you begin a repair, see How to Sashiko Stitch: A Beginner’s Step-by-Step Guide, and for help choosing what to stitch with, Best Sashiko Thread for Beginners compares the main options. If you want patterns and mending projects to follow, Best Sashiko Pattern Books includes a pick built around repairing clothes.
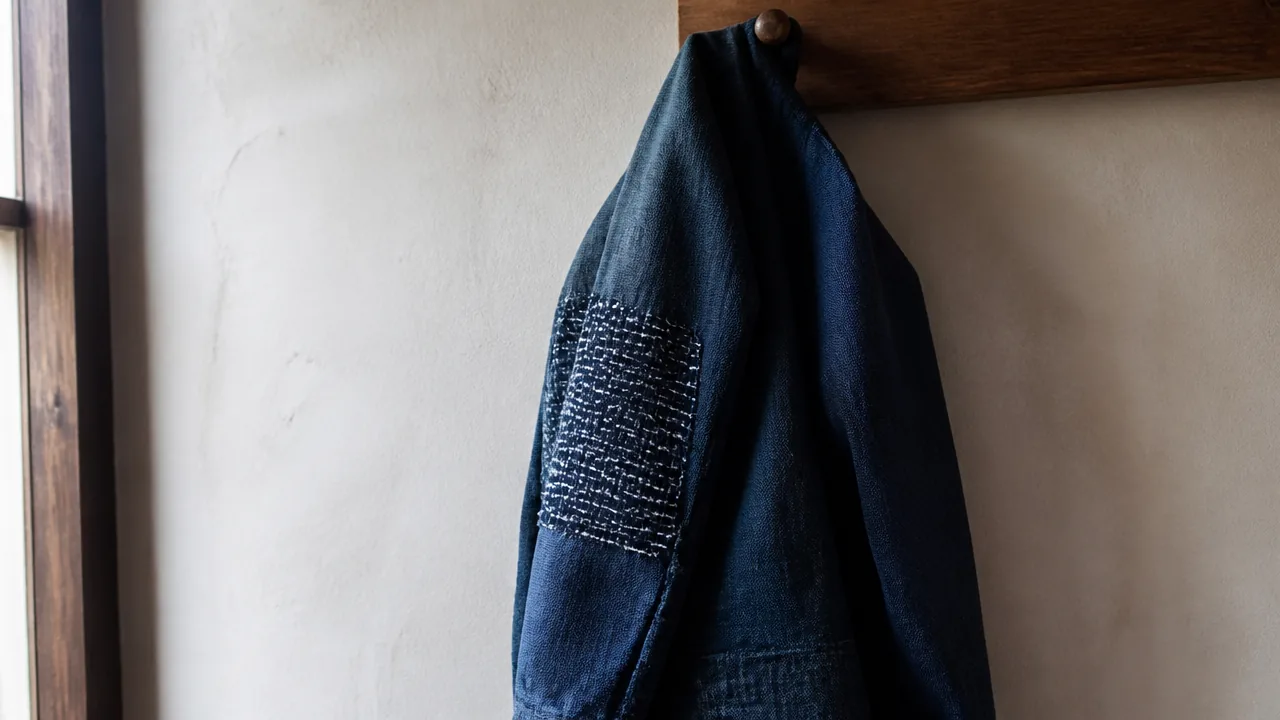
Start with one well-worn garment and one small patch, match the patch to the fabric, and let the stitching show.