How this article was made: Research-based comparison. It draws on published information from makers, retailers, and reference sources, not on hands-on testing.
- The Short Answer: How to Use a Whetstone
- Why Japanese Knives Require a Different Sharpening Approach
- What You Will Need Before You Start
- Step-by-Step: Sharpening Your Japanese Knife on a Whetstone
- Common Mistakes and How to Fix Them
- After Sharpening: Cleaning, Drying, and Storage
- Frequently Asked Questions
- How do I know when my Japanese knife actually needs sharpening?
- Can I use the same whetstone for my Japanese knife that I use for my Western knives?
- What is grit progression, and do I always need to start from a coarse stone?
- Do I need to sharpen both sides equally on a double bevel knife?
- Do you push or pull the knife on a whetstone?
- Which side of a combination whetstone do I use first?
- Bringing It All Together
The Short Answer: How to Use a Whetstone
Wet the stone, hold the knife at a steady, low angle to it, and sharpen one side until a burr forms, then the other side, before moving to a finer stone. The steps below follow Tojiro’s sharpening guide:
- Soak the stone until bubbles stop rising (Tojiro gives about five minutes). A splash-and-go stone only needs water poured on its surface.
- Set the stone on a damp folded towel so it cannot slide, coarser side up.
- Point the edge toward you and turn the knife to about 45 degrees to the stone’s center line.
- Raise the spine until the blade sits at 10 to 15 degrees to the stone, a gap of about 7 to 10mm under the spine, and keep it there.
- Push with pressure and ease off on the pull, working from heel to tip, until a burr forms on the other side of the edge.
- Turn the knife over and repeat, then move to a finer stone and finish with light, alternating strokes to remove the burr.
Which stone to buy is a separate question: Best Japanese Sharpening Stones 2026: A Beginner’s First Whetstone and Beyond compares grits and stones. This guide covers how to use one.
Why Japanese Knives Require a Different Sharpening Approach
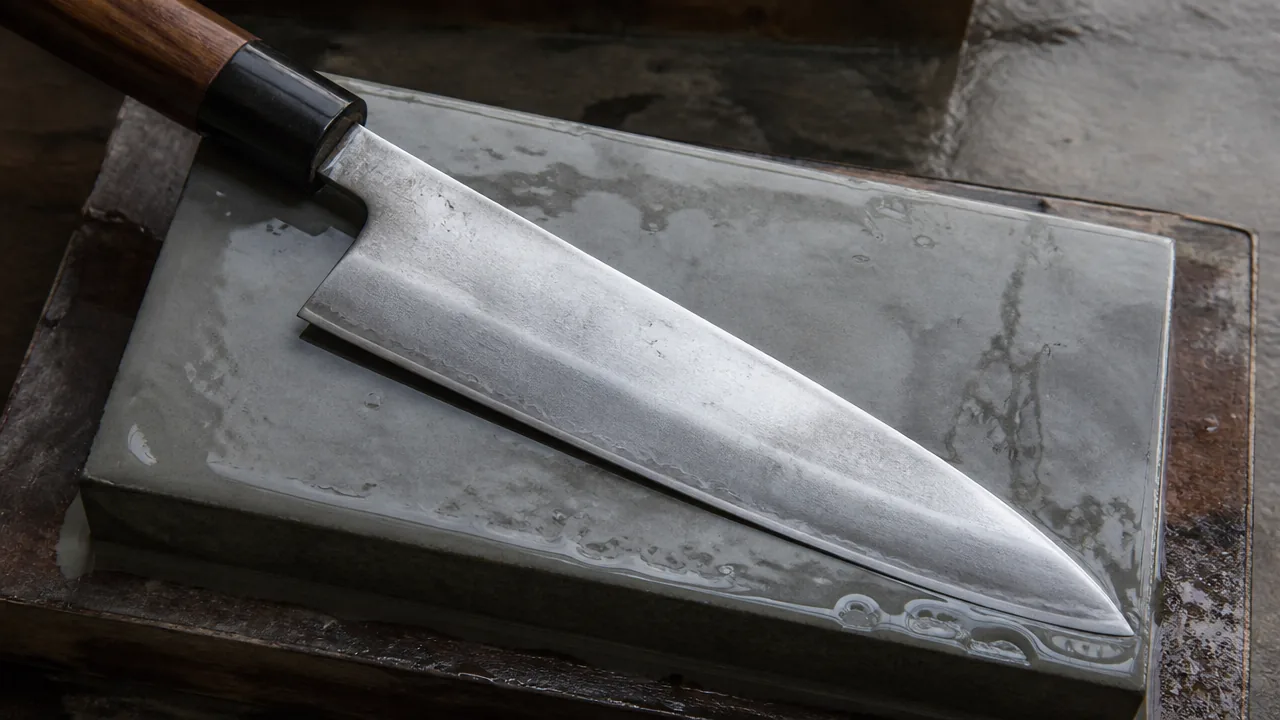
Japanese whetstones demand a more deliberate technique than pull-through sharpeners or electric grinders because they are designed to refine an edge at a specific, shallow angle — one that most Western sharpening tools simply cannot replicate. Makers publish their own edge angles: Shun sharpens its knives to 16 degrees on each side and MAC describes about 15 degrees per side, against the 20 to 25 degrees per side Shun cites for Western knives, and maintaining that geometry by hand is what whetstone sharpening is fundamentally about. The payoff is real: a properly sharpened Japanese knife glides through ingredients rather than pushing through them, and the edge lasts longer when it is restored correctly rather than approximated.
This guide walks through the full process for double bevel knives — gyuto, santoku, nakiri, and similar styles. If you own a single bevel knife such as a yanagiba or deba, the sharpening logic is quite different; that topic is covered in detail in Single Bevel vs Double Bevel Japanese Knives: What’s the Real Difference?.
What You Will Need Before You Start
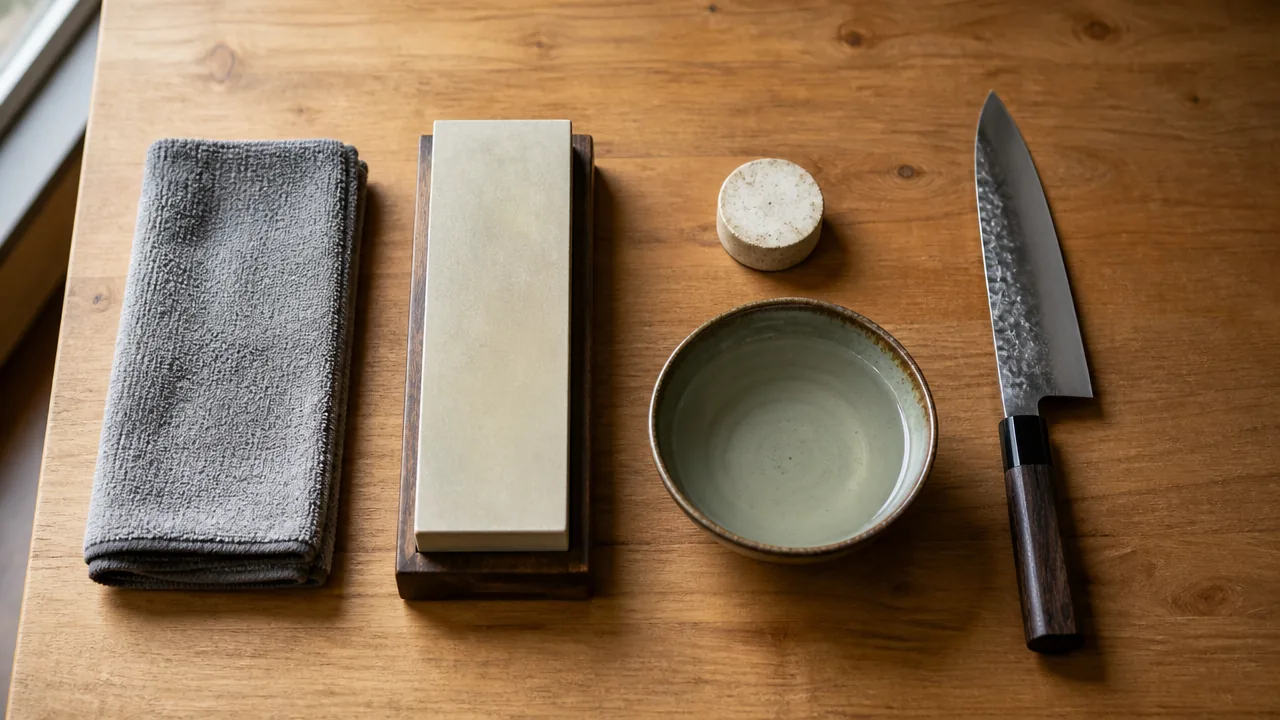
Getting your tools organized before touching the knife saves frustration mid-session. Here is what to have on hand:
- A whetstone suited to your knife’s current condition (a 1000-grit stone is a usual starting point for routine sharpening; coarser grits around 120–400 are reserved for chipped or badly worn edges)
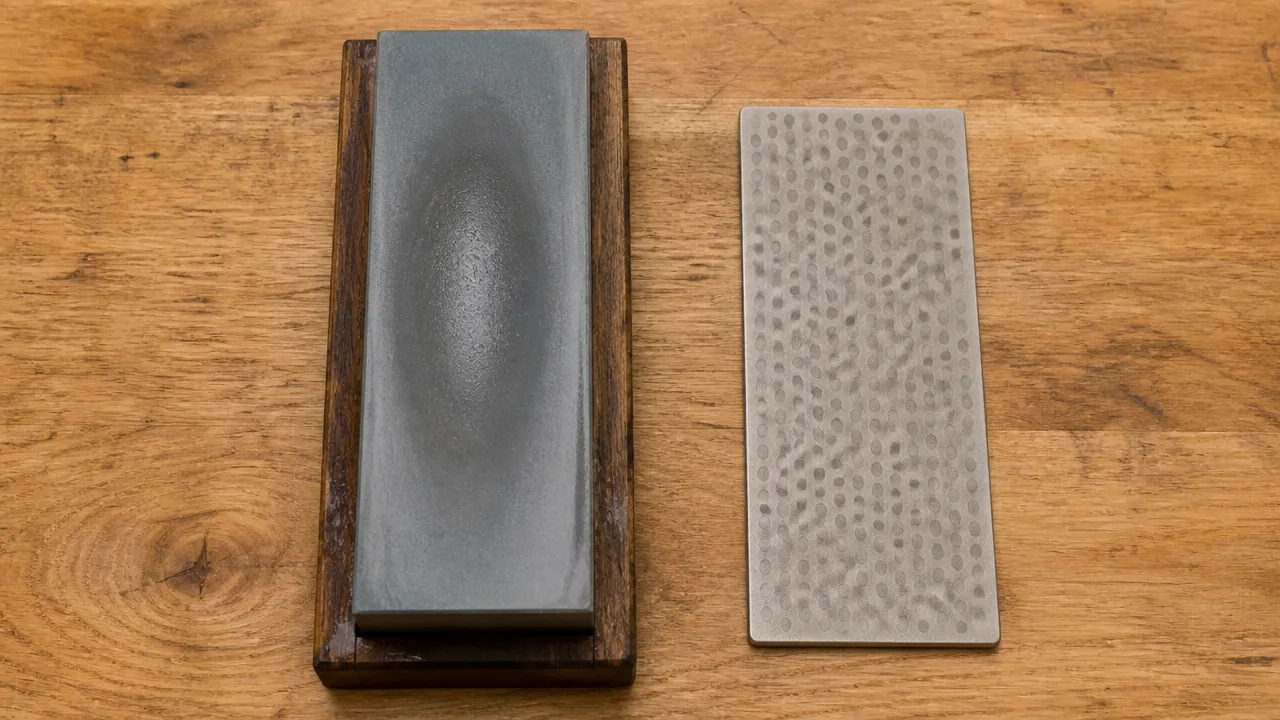
- A flattening stone or diamond plate to keep the whetstone’s surface true
- A container of clean water, or access to a tap if your stone prefers running water
- A folded towel or non-slip mat to stabilize the stone on the counter
- A second dry towel for wiping the blade between passes
- A marker (optional but useful for beginners — drawing along the bevel helps you see exactly where the stone is making contact)
If you have not yet chosen a whetstone and want guidance on which grits and brands work well for beginners, Best Japanese Sharpening Stones 2026: A Beginner’s First Whetstone and Beyond covers the full selection in plain terms.
One more thing worth checking before you begin: the steel your knife is made from affects how quickly it sharpens and how often it needs attention. Hard steels like aogami respond differently than softer stainless alloys. Japanese Knife Steel Types Explained: VG-10 vs Damascus vs Aogami and Shirogami is a useful reference if you are unsure what you are working with.
Step-by-Step: Sharpening Your Japanese Knife on a Whetstone
Work through these steps in order. Do not rush the early stages.
- Soak or wet the stone. If you are using a soaking-type stone, submerge it in water until bubbles stop rising — Tojiro’s guide gives about five minutes, and the stone’s maker says how long its own stones need. Splash-and-go stones just need a pour of water over the surface before use.
- Stabilize the setup. Place the folded towel flat on the counter and set the whetstone on top with the coarser side facing up if you are using a combination stone. The stone should not slide or rock.
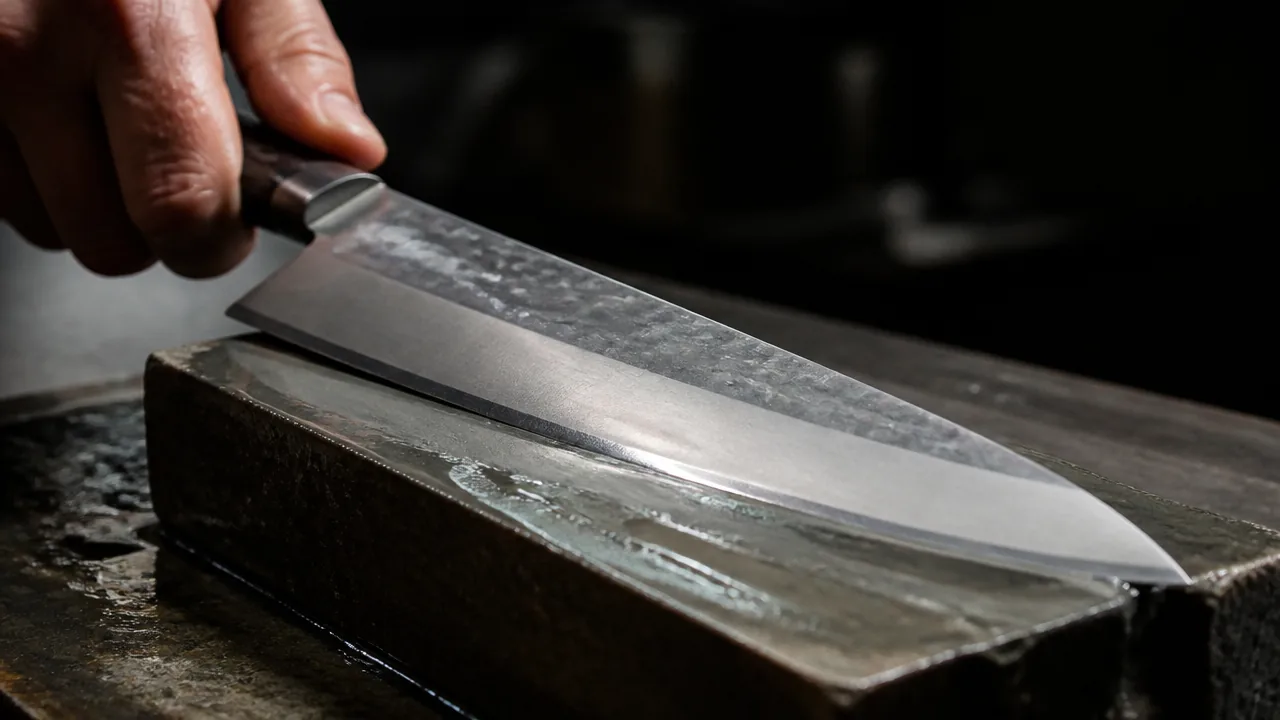
- Find your angle. Hold the knife with your dominant hand gripping the handle and your index finger resting along the spine. Lay the blade flat on the stone, point the edge toward you, turn the knife to about 45 degrees to the stone’s center line, and raise the spine. Tojiro’s guide says to hold the blade at 10 to 15 degrees to the surface of the stone, which leaves a gap of about 7 to 10mm under the spine. If your knife’s maker gives its own sharpening instructions, follow those. Keep the angle consistent throughout.
- Begin your sharpening strokes. Push the blade forward across the stone in a smooth arc, moving from the heel of the knife toward the tip as you slide it along the length of the stone. Apply moderate, even pressure on the forward stroke and lighten the pressure on the return. The number of strokes depends on how dull the edge is and which grit you are using.
- Check for a burr. After your strokes on the first side, turn the knife over and lightly drag your thumb across — not along — the edge. A burr forms as a thin, wire-like ridge on the opposite side of the edge you just worked, and feeling that ridge tells you the stone has reached all the way to the apex. No burr yet means you need more strokes.
- Repeat on the second side. Flip the knife and work the other bevel the same way, matching your stroke count roughly to what you did on side one, until you feel a burr transfer back.
- Progress through your grits. Once a clean burr has formed and transferred on the medium stone (typically 800–1200 grit), move to a finer stone in the 2000–3000 range to begin refining the edge and reducing the burr. For a polished finish, continue to a 4000–6000 grit stone.
- Remove the final burr. On your finest stone, alternate one light stroke per side, gradually reducing pressure with each pass. This technique — alternating sides with decreasing force — is the standard method for cleanly detaching the last of the burr without folding it back into the edge. Finish by stropping lightly on leather or the back of a leather strop if you have one.
Common Mistakes and How to Fix Them
Even with clear instructions, a few problems come up repeatedly. Knowing what to look for makes the difference between a frustrating session and a genuinely sharp result.
Inconsistent angle is the issue that undermines most beginner attempts. If the spine drifts up and down during the stroke, you end up rounding the edge rather than refining it. Slowing down and making deliberate, controlled passes matters more than speed. The marker trick mentioned in the preparation section is particularly useful here — if you color the bevel with a marker before sharpening, you can see exactly which parts of the edge are being abraded after just a few strokes.
Skipping grit progression is another common shortcut that backfires. Moving directly from a coarse stone to a very fine stone leaves deep scratches that the fine stone cannot efficiently remove. Progressing through grits in order takes more time upfront but produces a cleaner, more durable edge.
Neglecting to flatten the stone leads to a curved or dished surface that makes consistent angle control nearly impossible. Flatten your whetstone periodically — every few sharpening sessions or so — using a flattening stone or diamond plate. A hollow stone will sharpen the middle of the blade differently than the tip and heel, and that unevenness shows up in how the knife actually cuts.
Finally, too much pressure on fine grits works against you. The job of a finishing stone is to polish, not to remove significant metal. Lightening your touch as you move to higher grits is not optional — it is what produces a refined, mirror-like edge rather than a scratchy one.
After Sharpening: Cleaning, Drying, and Storage
What you do in the five minutes after sharpening has a real impact on how long the results last and how well both the knife and the stone hold up over time.
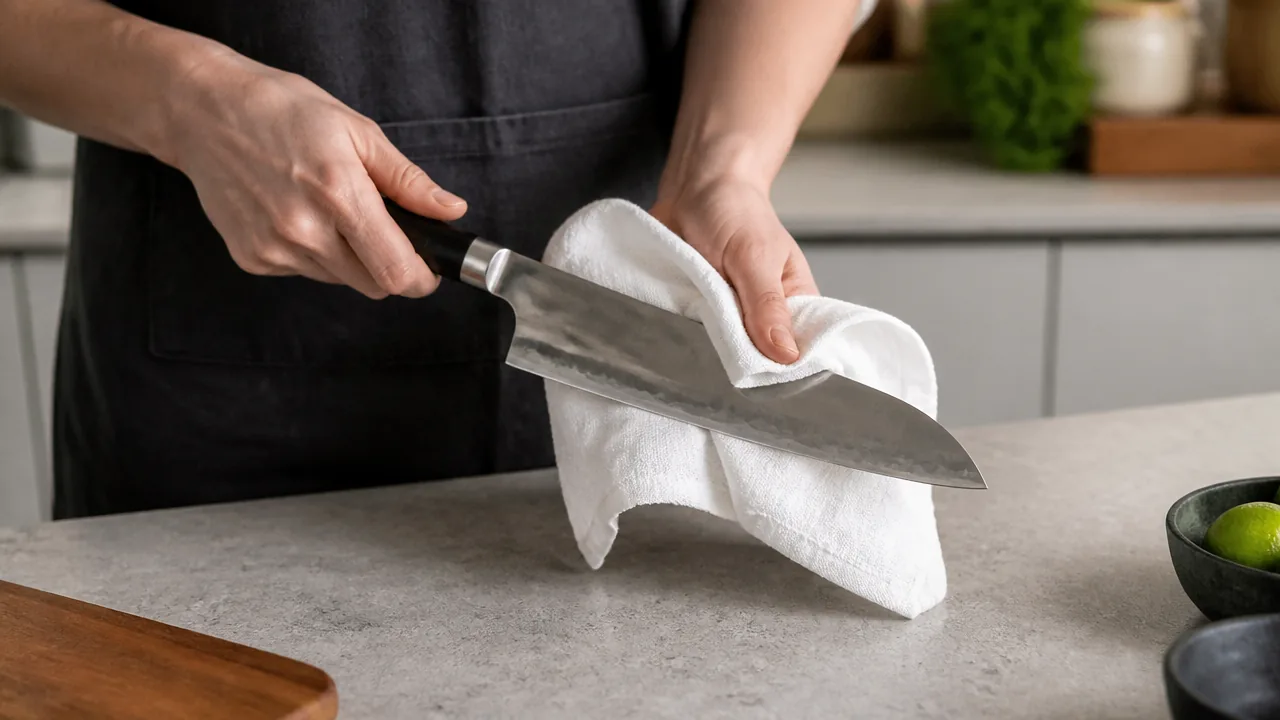
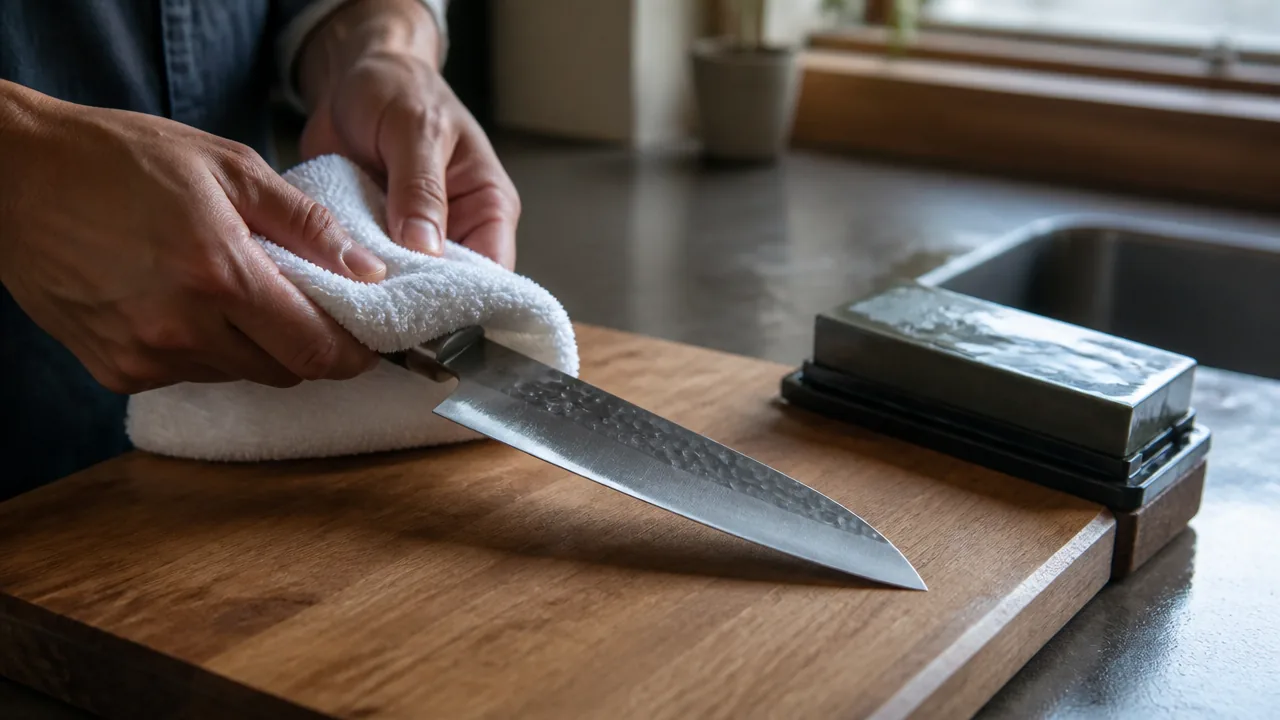
Wipe the blade clean immediately after your final stroke. Metal slurry left on the edge can cause surface oxidation, and on carbon steel knives, that process begins quickly. Dry the blade thoroughly with a clean towel, paying attention to the spine and the area just above the edge where water tends to sit.
For the stone, rinse away the slurry under running water and then leave the stone in open air to dry completely before putting it away. Storing a damp stone, especially in an enclosed box, encourages mold growth and can cause some stone types to crack during temperature changes. Most manufacturers recommend air-drying in a well-ventilated spot before storage.
Store the knife in a way that protects the edge — a magnetic strip, a wooden knife block, or a blade guard all work. A sharp knife rattling loose in a drawer dulls faster than one that is properly housed.
If your knife is made from a reactive carbon steel, a very light application of food-safe oil on the blade after drying adds a useful layer of rust protection, particularly if the knife will sit unused for a few days or more. The surface you cut on also affects how long the new edge lasts; Best Cutting Board for Japanese Knives covers what Shun, the knife maker, recommends.
Related: for care between sharpenings, How to Store and Maintain a Japanese Knife: Preventing Rust and Chips covers storage and how to prevent rust and chips.
Frequently Asked Questions
How do I know when my Japanese knife actually needs sharpening?
The most reliable test is the paper test: hold a sheet of printer paper vertically and slice downward through it. A sharp edge cuts cleanly with little resistance; a dull one tears or deflects. You can also try slicing a ripe tomato without applying downward pressure — if the knife slides rather than bites, it is time for the stone. How often that happens depends heavily on the steel type and how the knife is used day to day.
Can I use the same whetstone for my Japanese knife that I use for my Western knives?
Yes, the stone itself is the same tool. What differs is the edge on the knife. Makers publish their own edge angles: Shun sharpens its knives to 16 degrees on each side and MAC describes about 15 degrees per side, while Shun cites 20 to 25 degrees per side for Western knives. Using the same physical stone works fine, as long as you sharpen each knife the way its maker describes.
What is grit progression, and do I always need to start from a coarse stone?
Grit progression simply means moving from a lower-grit (coarser, more abrasive) stone to a higher-grit (finer, less abrasive) stone in sequence. You do not need to start with a coarse stone every time. If your knife is merely slightly dull from regular use, starting at a medium grit around 800–1200 is usually sufficient. Coarse grits in the 120–400 range are for repairing chipped edges or significantly damaged geometry — reaching for them when they are not needed removes more metal than necessary.
Do I need to sharpen both sides equally on a double bevel knife?
For most double bevel knives like a gyuto or santoku, working both sides is standard practice. That said, not every double bevel knife is ground the same on both sides: MAC describes its edge as slightly off-center, while Tojiro’s guide has you repeat the same steps on each side, so follow the maker’s guidance for your knife. The goal is a centered apex, which you verify by feel (burr formation and transfer) rather than by counting strokes.
Do you push or pull the knife on a whetstone?
Both, but not with the same pressure. Tojiro’s sharpening guide says to put the force into the push stroke and ease off slightly on the pull, so the edge does not become rounded. Keep the knife at the same position on the stone in both directions, and work along the edge from heel to tip.
Which side of a combination whetstone do I use first?
The side with the lower grit number, which is the coarser side. Sharpen on it until a burr forms and transfers, then turn the stone over and refine the edge on the higher-grit side. On a 1000/6000 stone, that means the 1000 side first and the 6000 side to finish.
Bringing It All Together
Sharpening a Japanese knife on a whetstone is a learnable skill, not a specialized craft reserved for professionals. The core principles are straightforward: soak the stone, find and hold a consistent angle (the one your knife’s maker gives), work through grits in order, confirm burr formation at each stage, and finish with light alternating strokes to remove that burr cleanly. Keeping the stone flat and drying everything thoroughly afterward rounds out a complete and repeatable process.
The first few attempts will feel uncertain, and that is normal. Edge geometry improves with repetition, and even an imperfect early sharpening result is almost always better than leaving a dull knife in service. Over time, the angle becomes intuitive, the burr becomes easy to feel, and the whole process takes far less time than it does when you are learning.
Knife maintenance is also not one-size-fits-all. The steel your knife is made from — whether it is a hard reactive carbon like aogami or a stainless alloy like VG-10 — influences how quickly the edge degrades and how aggressively you need to sharpen. Keeping that in mind helps you sharpen smarter, not just more often.
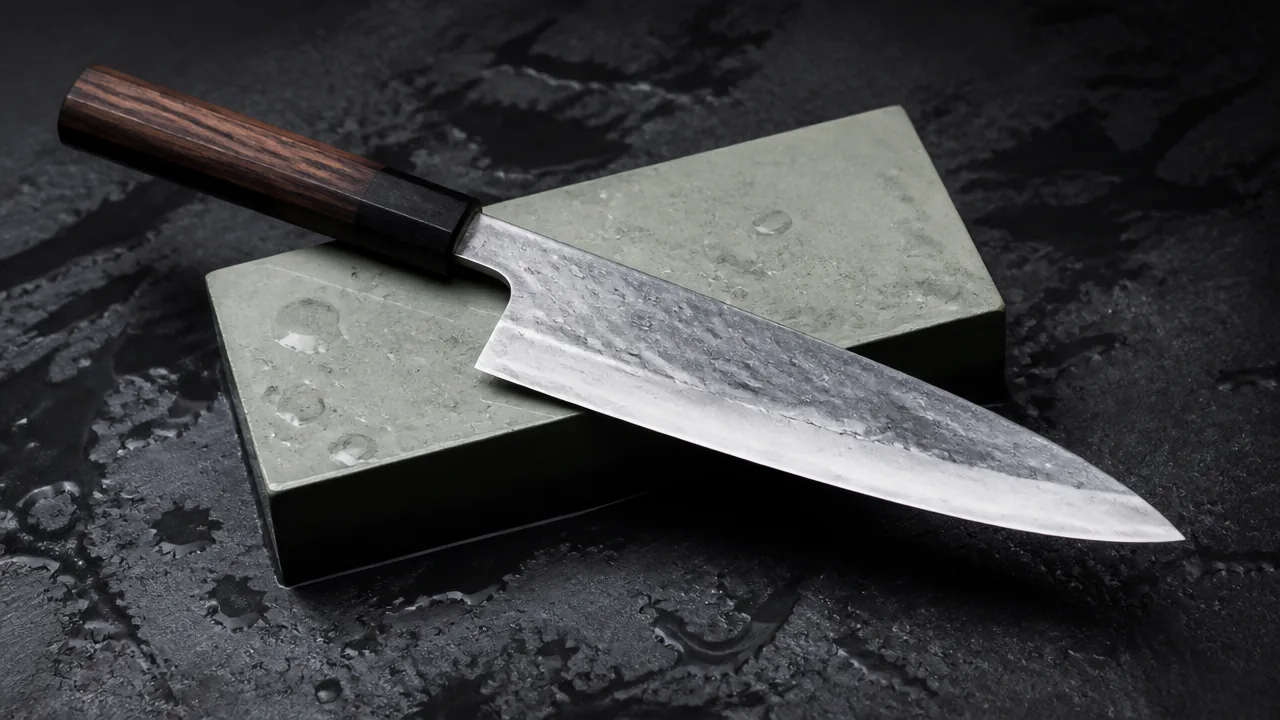
If you are still choosing your first whetstone, the Best Japanese Sharpening Stones 2026: A Beginner’s First Whetstone and Beyond is a good place to start.