This article contains affiliate links. If you buy through them, we may earn a commission at no extra cost to you.
How this article was made: Research-based comparison. It draws on published information from makers, retailers, and reference sources, not on hands-on testing.
The Short Answer: Six Stages, One to Three Months Depending on the Maker
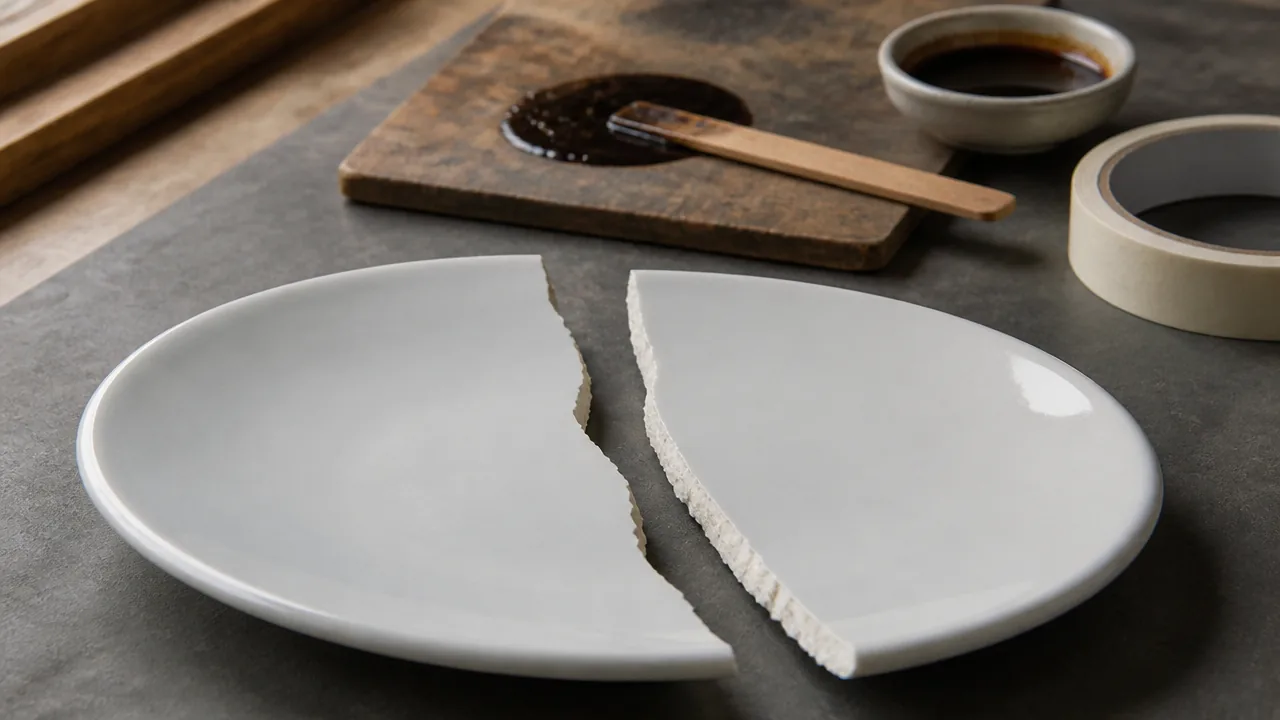
A traditional kintsugi repair is a sequence of thin layers of urushi lacquer, each left to harden before the next: glue, fill, coat, coat again, then gold. This guide sets out the steps as two Japanese makers of urushi kintsugi kits publish them: Chimahaga and Tsugu Tsugu. It reports their instructions; it is not an account of a repair carried out for this article. Where the two makers differ, each is given in its own words.
| Step | What is done | Chimahaga’s waiting time |
|---|---|---|
| Step 1: Prepare the broken edges (optional) | The sharp corners of the break are rounded off. This step is in Tsugu Tsugu’s process only; Chimahaga’s outline starts at gluing | — |
| Step 2: Glue | The pieces are joined with mugi-urushi, a paste of raw urushi, flour and water | About a week |
| Step 3: Fill | Grooves and gaps are filled with sabi-urushi, a paste of raw urushi, tonoko (a fine stone powder) and water | About three days |
| Step 4: Coat with black urushi | First coat: the excess is scraped off and black urushi is applied over the seam. Second coat: the surface is filed and coated again to make the seam flatter | About three days after each coat |
| Step 5: Apply the gold | A thin coat of bengara (red) urushi is applied and gold powder is put on before it dries | About a week |
| Step 6: Clean up | Loose gold powder is wiped off with a tissue dampened with water | — |
Chimahaga puts a whole repair at about a month: its About Kintsugi page says a broken piece of pottery can take up to a month, and its guide to choosing a kit says a month at the earliest. Tsugu Tsugu says one layer usually takes from a few days to a week to dry completely, and that it is very common for a whole project to take two to three months.
If you are new to the craft, What Is Kintsugi? explains the background, and How Long Does Kintsugi Take? looks at the timeline in more detail.
What You Need Before You Start
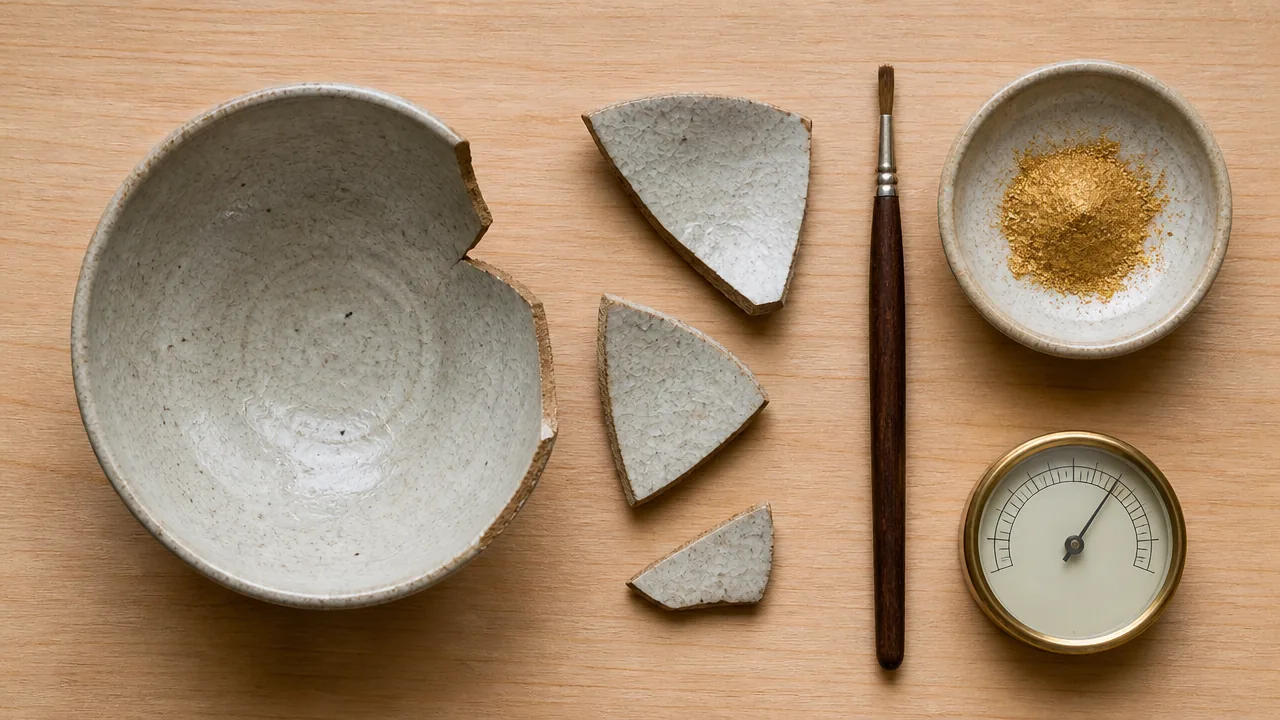
A urushi kit supplies the lacquers, powders and tools; a few ordinary items come from your kitchen. Both makers sell kits built around the steps above. Best Japanese Kintsugi Repair Kits 2026 compares the options; the two Chimahaga kits covered there are the Traditional Kintsugi Repair Kit – Basic ($169.00) and the Kintsugi Repair Kit for Beginners -Standard- ($195.00), both at Amazon.com prices checked on October 10, 2026. If you have not yet chosen between urushi and a synthetic resin kit, read Kintsugi Kit for Beginners: Authentic Urushi vs Synthetic Resin first; the steps in this guide apply to urushi only.
Tsugu Tsugu’s beginner’s guide lists what to add from home:
- Tissues, scissors and a utility knife
- All-purpose flour, water, and a cooking oil such as canola or salad oil
- Extra rubber gloves, and ethanol for cleaning
- A box with a lid to use as a drying box, with a wet towel and a plastic sheet
The same guide gives one instruction to follow before anything else: wash the broken piece carefully and dry it well, because oil, salt or stains can stop urushi from hardening.
For the individual lacquers and powders, see Best Kintsugi Glue and Gold Powder for Repairs; for brushes and spatulas, Best Japanese Kintsugi Tools.
Safety First: Urushi and Your Skin
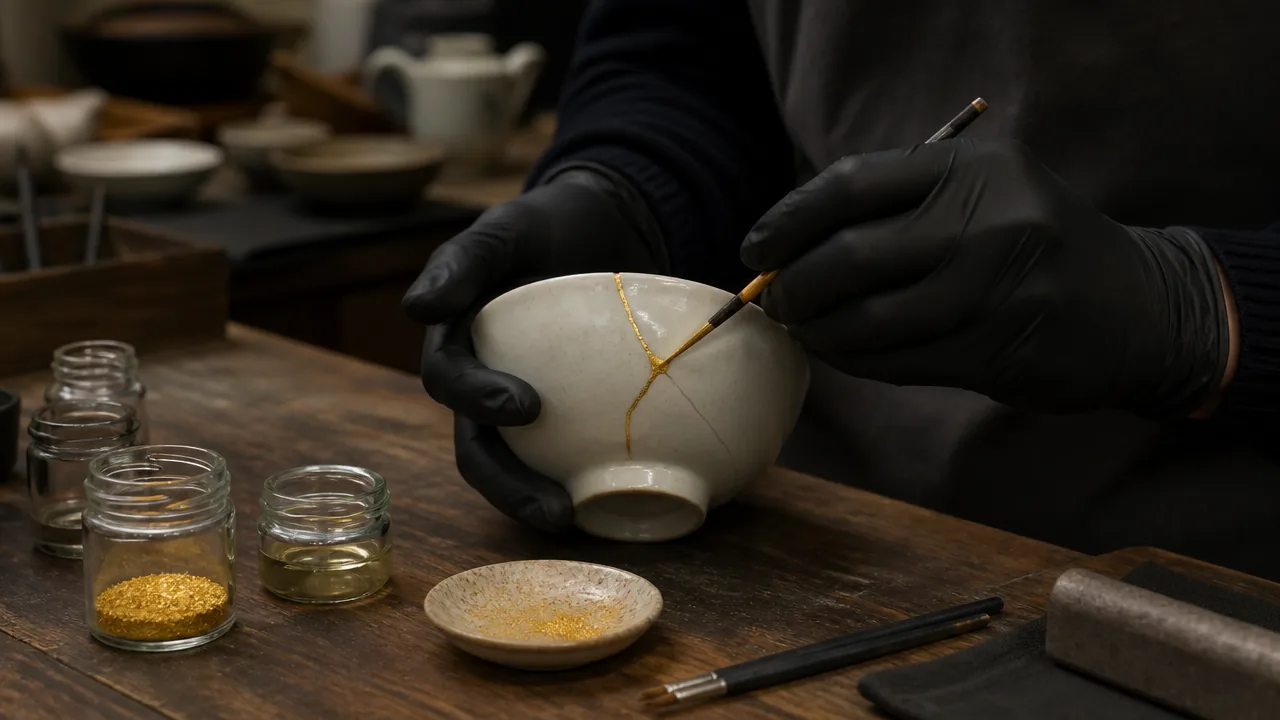
Raw urushi can cause a strong allergic skin reaction, so cover your hands and arms. Tsugu Tsugu’s guide says raw urushi can cause reactions similar to those of poison ivy when it touches the skin directly. It notes that not everyone is sensitive, but strongly recommends wearing gloves and covering your arms, and mentions safety goggles as an extra.
Tsugu Tsugu’s instructions if something goes wrong:
- Urushi on the skin: remove it with vegetable oil before it hardens
- An allergic reaction: contact your physician immediately. The guide also says soaking the affected skin in a warm salt bath helps relieve itching
- Sanding dust: its column on filling chips adds that the powder from sanding contains urushi and can irritate the wrists, so keep them covered
The guide also states that urushi no longer causes allergic reactions once it is completely dry. Disposable nitrile gloves are sold in boxes of 100, for example MedPride Powder-Free Nitrile Exam Gloves ($9.99 on Amazon.com, October 10, 2026; choose your size).
Set Up a Drying Box
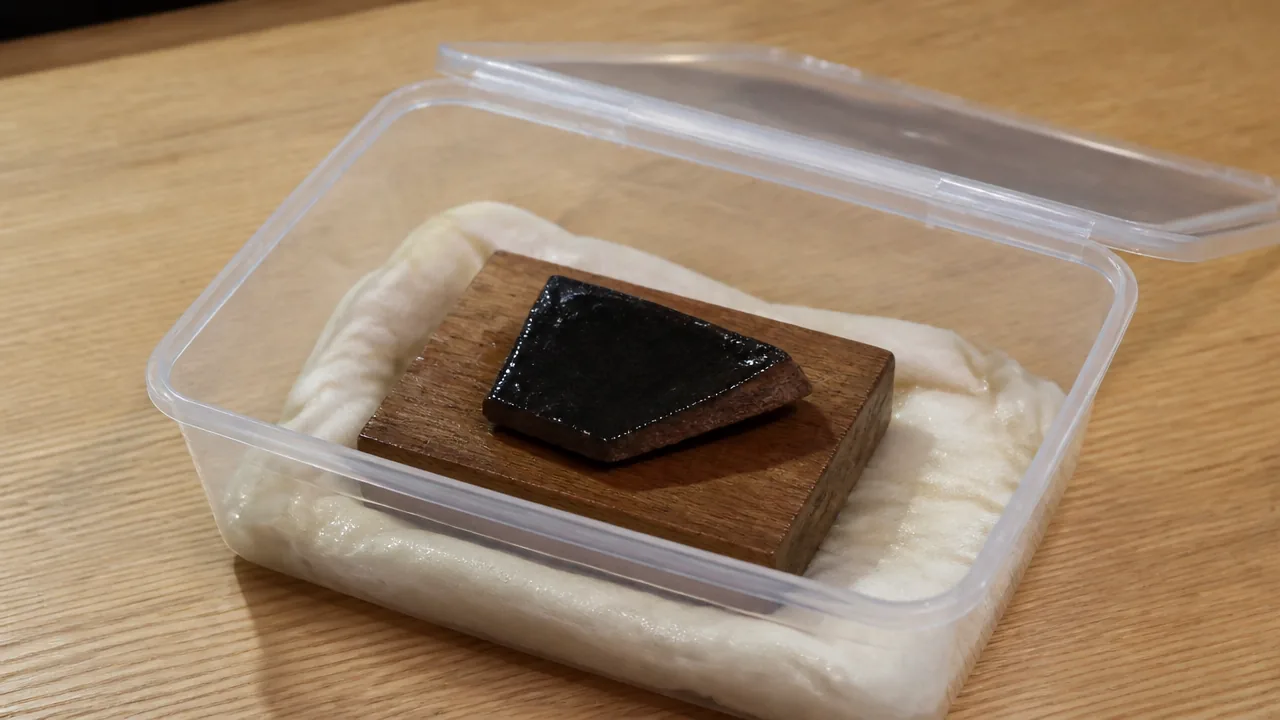
Urushi hardens in warm, humid air, so the piece rests in a closed, damp box between steps. Tsugu Tsugu calls this a urushi box and describes how to make one: a cardboard, wooden or plastic box that closes with a lid, with a wet towel and a plastic sheet inside.
- Conditions: Tsugu Tsugu’s guide gives an ideal of 20 to 25°C (68–77°F) with humidity of around 70 to 80%. Its columns on the later coats give a slightly wider range, 20–30°C and 70–85%
- Why it matters: the guide describes urushi as a living material that is strongly affected by its surroundings
Chimahaga’s page gives waiting times for each step but does not state a temperature or humidity.
The Steps, One at a Time
Step 1: Prepare the Broken Edges (Optional)
Tsugu Tsugu’s process begins with a pre-treatment that Chimahaga’s outline does not include: rounding off the sharp corners of the break so that there is a shallow groove for the filler to sit in. Tsugu Tsugu describes it as an intermediate-to-advanced step that beginners can skip, and its kits do not include the tools. If you do it, the instruction is to take off only the corners and leave the broken faces alone, because the rough faces lock together when pressed.
Step 2: Glue the Pieces with Mugi-Urushi
Both makers join the pieces with mugi-urushi. Chimahaga describes it as a paste made by kneading raw urushi, flour and water, and says to wait about a week for it to harden.
Tsugu Tsugu’s column on this step adds detail:
- The mix: flour, water and raw lacquer, worked to a texture it compares to chewing gum. It recommends light (cake) flour
- Taping: hold the joined pieces with tape across the seams, but do not cover every seam, so that the lacquer stays in contact with the air and can harden
- Smears and waiting: do not wipe mugi-urushi off while it is wet, because the pieces can shift. Tsugu Tsugu’s advice is to leave the stains, dry the piece in the drying box for a week, then take off the tape and scrape or sand the stains away
Step 3: Fill Chips and Gaps
Chimahaga’s second step is to fill the grooves with sabi-urushi, a paste of raw urushi, tonoko and water, and wait about three days.
Tsugu Tsugu divides filling in two. Kokuso, which is mugi-urushi mixed with fine wood powder and polishing powder, is for chips deeper than 1mm (its sabi-urushi column describes the same step as being for chips 2mm or deeper); it is built up in layers of 0.5mm to 1mm, each dried at least overnight, and sanded flat with 320-grit paper only once the chip is full. Sabi-urushi, made from polishing powder, water and raw urushi, is for shallower chips, small holes and the seam itself. Tsugu Tsugu says to press it into the grooves with a spatula, let it dry, then sand it flat with fine waterproof paper, and not to skip this step even on a hairline crack.
Step 4: Coat the Seam with Black Urushi
Chimahaga describes two coats: scrape off the excess filler and apply black urushi (it says bengara urushi is also acceptable), wait about three days, file the surface, coat again to make the seam flatter, and wait another three days.
Tsugu Tsugu’s column explains what this layer is for: it strengthens the base, adds a waterproofing effect and gives a smooth surface. It says its own artisans apply at least two coats, and its advice is to let each dry for at least a day, and to sand with No. 1000 waterproof paper until the surface turns matte before the next coat. It also says black urushi has almost no thickness, so unevenness has to be corrected with sabi-urushi, not with more coats.
Step 5: Apply the Gold
Chimahaga’s finishing step: once the surface is polished and the seam is smooth, apply a thin coat of bengara urushi, put gold powder on it before it dries, and wait about a week for it to harden.
Tsugu Tsugu’s column says to brush the red urushi on as thinly as possible and to sprinkle the gold on it with a silk ball, using very gentle force. It adds a caution about oil: oil from hands or tools can stop urushi from drying, so tools are wiped with ethanol and a tissue beforehand.
Step 6: Clean Up
Chimahaga ends by wiping off the excess gold powder with a tissue dampened with water.
How Long It Takes: Where the Two Makers Differ
Chimahaga’s outline adds up to roughly a month; Tsugu Tsugu says two to three months is very common. The two figures describe the same sequence at different levels of detail.
- Chimahaga gives one waiting time per step (about a week, three days, three days, three days, a week) and puts the whole repair at about a month
- Tsugu Tsugu says one layer usually takes from a few days to a week to dry, that the time depends on the number of coats and on your environment, and that keeping a piece in the drying box for longer than the minimum is fine
Deep chips filled in several thin layers, and extra coats of black urushi, are where the additional weeks come from. How Long Does Kintsugi Take? sets the urushi timeline beside the much shorter one for epoxy kits.
Using the Repaired Piece
Wait at least a month after the repair is finished before using the piece. That is Tsugu Tsugu’s guidance, on the grounds that the repair goes on strengthening over time. Its guide lists how to treat the piece afterwards:
- Wash it by hand, gently, without scrubbing around the repaired lines
- Do not put it in a microwave, a dishwasher or an oven, or over an open flame
- Do not pour in boiling water above the lacquer’s heat-resistant temperature, which the guide gives as 95°C
- Avoid long soaking and sudden changes of temperature
For what the makers say about eating and drinking from a repaired piece, see Is Kintsugi Food Safe?. Glass is a separate case: Tsugu Tsugu says the raw lacquer in its kits is not designed for repairing broken glass, and Can You Use Kintsugi on Glass? covers the materials that are.
Frequently Asked Questions
What are the steps of kintsugi?
Chimahaga, a Japanese kit maker, lists six: gluing the pieces with mugi-urushi, filling the grooves with sabi-urushi, a first coat of black urushi, a second coat, a finishing coat of bengara urushi with gold powder, and wiping off the excess gold.
How long does a kintsugi repair take at home?
Chimahaga puts a whole repair at about a month. Tsugu Tsugu says one layer usually takes from a few days to a week to dry, and that two to three months for a whole project is very common.
Is urushi safe to handle?
Raw urushi can cause an allergic skin reaction that Tsugu Tsugu compares to poison ivy. It strongly recommends gloves and covered arms, says to remove urushi from the skin with vegetable oil before it hardens, and says to contact a physician if a reaction occurs.
What temperature and humidity does urushi need to harden?
Tsugu Tsugu’s beginner’s guide gives an ideal of 20 to 25°C with humidity of around 70 to 80%, inside a closed box with a wet towel.
When can I use a bowl after a kintsugi repair?
Tsugu Tsugu says to wait at least a month after the repair is finished, then to wash the piece by hand and keep it out of the microwave, dishwasher and oven.
Sources
- Chimahaga, About Kintsugi, read October 10, 2026
- Tsugu Tsugu, Kintsugi Beginner’s Guide and its step-by-step FAQ columns (linked in each step above), read October 10, 2026
Ready to choose a kit? Best Japanese Kintsugi Repair Kits 2026 compares two urushi kits and one epoxy kit.
Comments